Blog
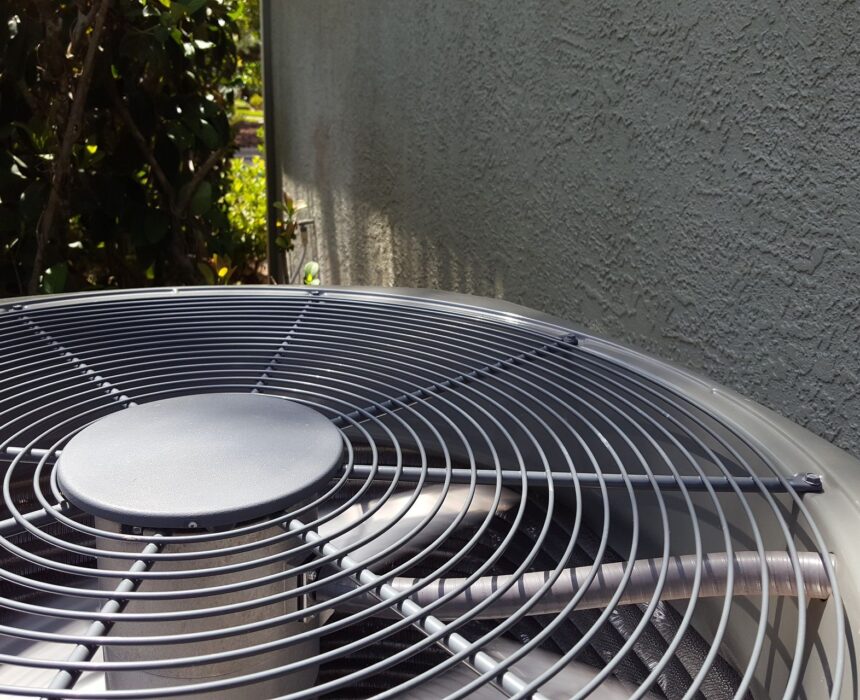
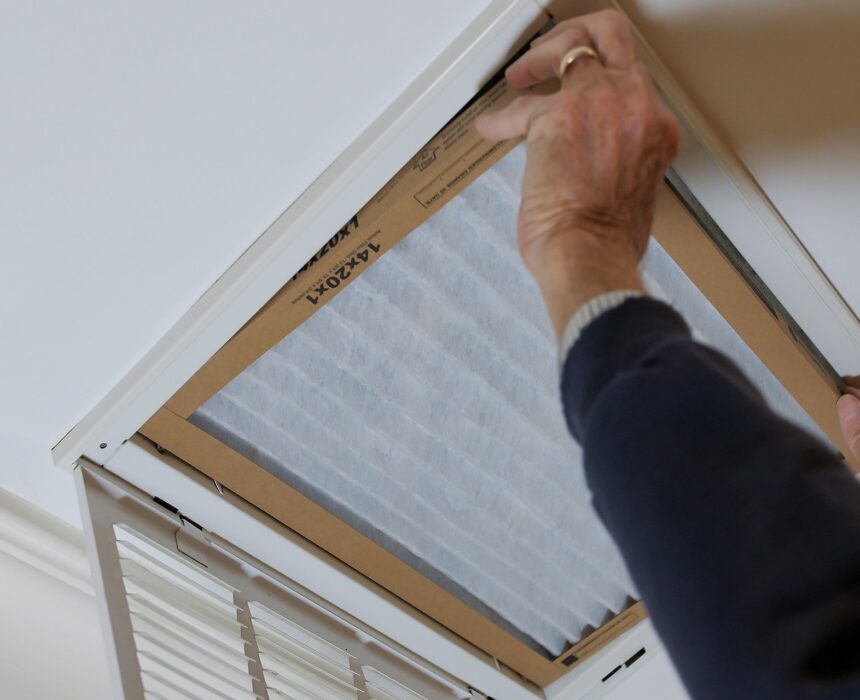
HVAC Spring Tune-Up: Getting Ready for the Summer Heat
Spring is officially here, and summer is just around the corner. While some of us…
Keep reading →
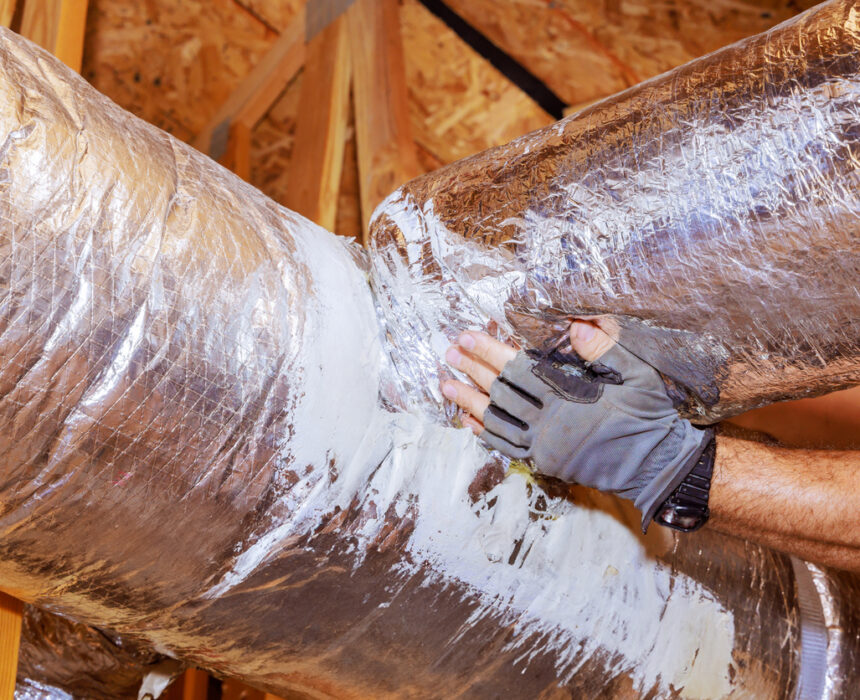
What Is Aeroseal and Is It Right for Your Ducting?
According to the National Renewable Energy Laboratory (NREL), HVAC air ducts can lose up to…
Keep reading →
Why Do You Need a Whole-Home Dehumidifier?
High humidity in your home can cause a range of issues from…
Keep reading →

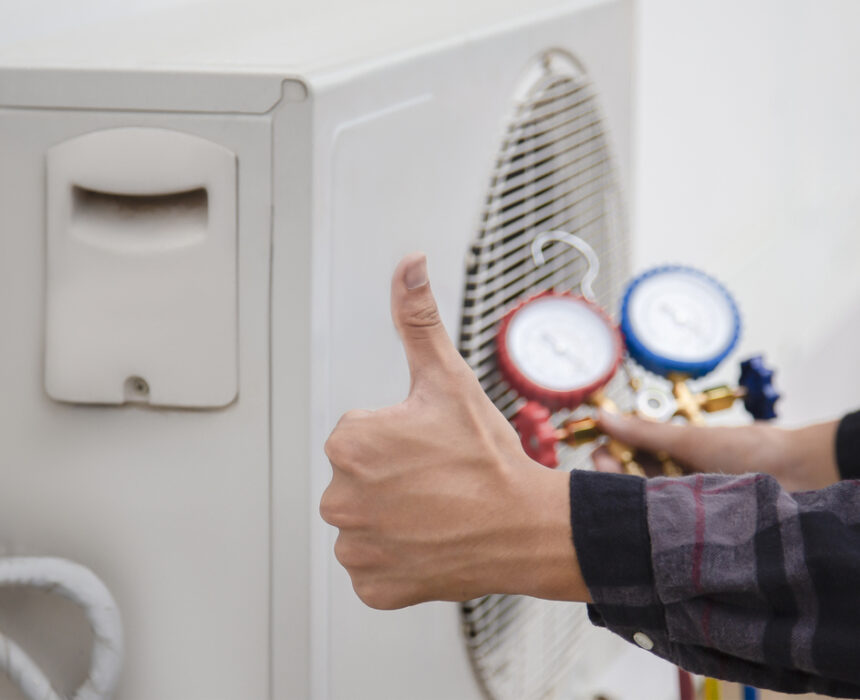
It’s Not Too Late to Tune Up Your Heating System!
Springtime is in the air. Even with the last chill of winter in the breeze,…
Keep reading →

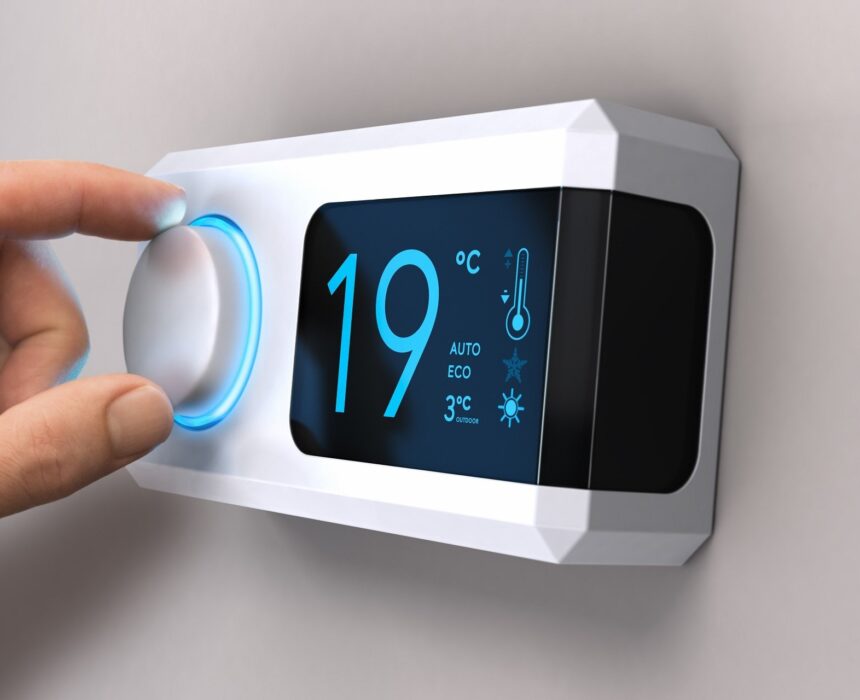
I Want a Smart Thermostat but Don’t Have a C Wire – What Are My Options?
Smart Thermostat Without C Wire Getting a smart thermostat is the most sensible and wise…
Keep reading →
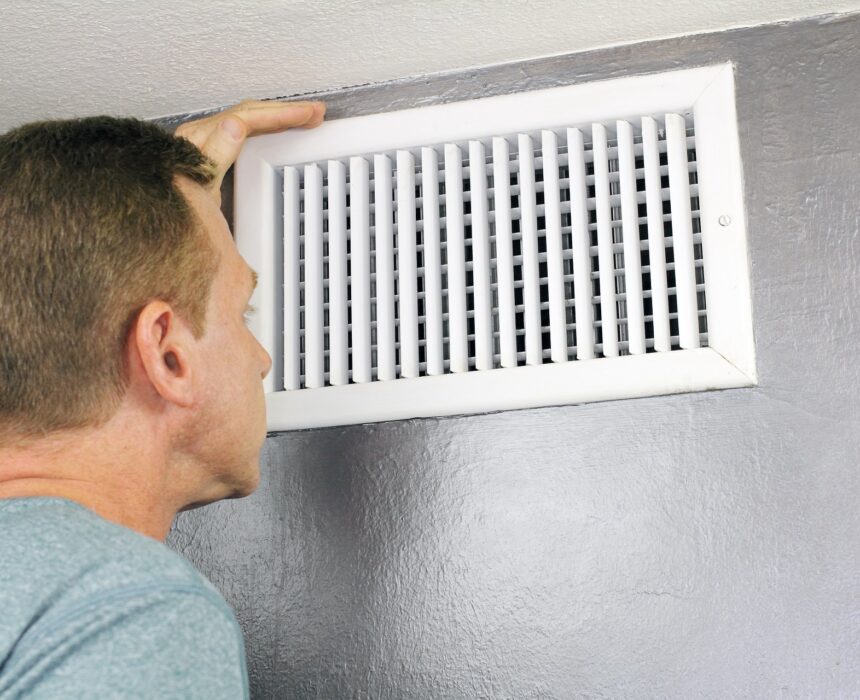
What Is The HVAC Duct Sizing Rule Of Thumb?
An HVAC system is a complex piece of equipment. There are several parts that come…
Keep reading →
How Safe Is Reme Halo?
As a professional AC service company, we constantly get asked to provide our opinion on…
Keep reading →

Why Is Water Dripping From Your AC Vent? Here’s How To Fix It
Why is Water Dripping from Air Vents? A few different things can cause water to…
Keep reading →
6 Common Heat Pump Smells Explained
It is not normal for a home to have weird smells, especially when it has…
Keep reading →
AC Unit Buzzing Every Few Minutes? Here’s What’s Behind It
AC Unit Buzzing Every Few Minutes While air conditioners can be noisy (many homeowners are…
Keep reading →